I looked around Pinterest for a Thanksgiving- or turkey-themed busy bag, but couldn't find any good examples. So this is what I came up with. I cut a turkey out of tan felt (shaped like a butternut squash) and glued on a pair of googly eyes, beak, and waddle. I cut out a rainbow of feathers to arrange and rearrange behind the turkey. Then I designed a little pilgrim hat and a pink apron for some fun accessorizing. My kids will have some fun with it this week!
Showing posts with label felt crafts. Show all posts
Sunday, November 24, 2013
Thanksgiving Turkey Busy Bag
I looked around Pinterest for a Thanksgiving- or turkey-themed busy bag, but couldn't find any good examples. So this is what I came up with. I cut a turkey out of tan felt (shaped like a butternut squash) and glued on a pair of googly eyes, beak, and waddle. I cut out a rainbow of feathers to arrange and rearrange behind the turkey. Then I designed a little pilgrim hat and a pink apron for some fun accessorizing. My kids will have some fun with it this week!
Saturday, July 27, 2013
"Under the Sea" Felt Board (To Go)
Here's an idea I found for keeping kiddos entertained on a road trip: felt boards on a clipboard! Felt can be glued on the back of the clipboard. I chose to make an "Under the Sea" theme, so I added a little "sand" (tan felt) and some wavy green sea-plant-things (green ric-rac and felt).
| All the pieces, made of felt, can be kept in a Ziploc bag clipped to the other side. |
| I added googly eyes to all the animals. |
| I only glued down the bottom edge of the sea plants so fish can swim through them. |
| A turtle, a crab, a shark, a starfish, a clam, and five fish... quite a busy little scene! |
Thursday, May 30, 2013
Felt Bandages for Dolls and Stuffed Animals
This was a fun little project to whip up. I just cut flesh-colored felt into a long oval shape, then sewed Velcro on the back to make bandages for all Kate's dolls and animals. She keeps them in her new doctor's kit.
Saturday, March 30, 2013
Superhero Training Camp
This past week was spring break for LCPS, and as always, I needed something for my kids to do. My friends with the Las Cruces Playgroup and I put together a three-day camp. And not just any camp, but a Superhero Training Camp! With about 18 kids participating, we split them up into two groups (big kids and little kids) and then had moms (and at least a couple dads) walk them through different stations: obstacle course, a "skills training" activity, craft, and snack. Super fun for our super kids. Jack and Kate had their capes already from an AWANA superhero night last fall. I found a quick tutorial for that here. Seriously, I whipped up a last-minute one for Maggie in about half an hour.
We set up the obstacle course every day so the kids could supposedly improve on their time each day. It included:
Every day, we planned a "skill-building activity" that would strengthen kids and give them the tools they needed to become a true superhero. Day 1's activity was knocking over a wall (made with shoeboxes wrapped in butcher paper).
And each day we had a craft that would help the kids pull their superhero identity together. Day 1's craft was a mask. I found a tutorial here and just simplified the craft a bit for our day camp by just using one layer of felt. Although, as it turned out, the mask wasn't so durable, so in the future, following the tutorial would probably be a good idea. The kids decorated them with buttons and little baubles and puffy paint (in some cases, waaaay too much puffy paint!).
Our activity for Day 2 was throwing green ping-pong balls (which were supposed to represent Kryptonite) from one bucket into another.
And Day 2's craft was super cool wrist cuffs. Tutorial found here. We had every mom bring a toilet paper roll, which we just cut into a cuff size and covered with felt (and, again, more buttons and baubles and puffy paint). Then, we punched two holes on each of the cuff's ends and threaded some elastic string through to tie it up.
Of course, we had snack time every day. Who can forget that?!? Here's an actual picture of me with my girls!
Our craft for Day 3 was the BEST: Superhero Control Panels! You know, so our little heroes would be able to activate their force field, or call their sidekick, or kick into high gear. I found this tutorial here. We had each mom bring an empty Jello box. I spray-painted them and some straws and little styrofoam balls metallic silver. I used scissors to poke a hole in the balls, then attached them to the straws with a little hot glue. And then I duct-taped the straw-and-ball "antenna" onto the Jello box.
Our Day 3 snack mom was super-ambitious and brought all sort of fun (and accessorized!) treats.
And, with that, our three days of superhero training were over. We sent each kid home with a certificate (found here) that could be personalized with their real name, superhero name, and special powers. All in all, the kids had a blast!
![]() |
| Back detail on the cape of "Super K" |
![]() |
| Miss Maggie would NOT stand still for a good cape pic. Ergh. |
| Kicking a soccer ball around some cones |
| Crawling through several tunnels |
| Tossing a frisbee into a hula hoop |
| Climbing up a rock wall to save a baby at the top, then bringing the baby down the slide. Wheee! I just love this picture of Miss Maggie. |
| Of course, wind wreaked havoc on our tunnel set-up. And kids will be kids. |
Every day, we planned a "skill-building activity" that would strengthen kids and give them the tools they needed to become a true superhero. Day 1's activity was knocking over a wall (made with shoeboxes wrapped in butcher paper).
And each day we had a craft that would help the kids pull their superhero identity together. Day 1's craft was a mask. I found a tutorial here and just simplified the craft a bit for our day camp by just using one layer of felt. Although, as it turned out, the mask wasn't so durable, so in the future, following the tutorial would probably be a good idea. The kids decorated them with buttons and little baubles and puffy paint (in some cases, waaaay too much puffy paint!).
| Kate's mask; I sewed the elastic on later |
Of course, we had snack time every day. Who can forget that?!? Here's an actual picture of me with my girls!
| Fueling up |
![]() |
| A box of control panels pre-craft time |
![]() |
| Here's a better look. |
![]() |
| We used adhesive craft foam to decorate them. |
Our Day 3 snack mom was super-ambitious and brought all sort of fun (and accessorized!) treats.
![]() |
| Star-shaped Rice Krispies treats with fun labels |
![]() |
| Snacks were enjoyed immensely. |
Saturday, January 5, 2013
Christmas Felt Wall Scenes
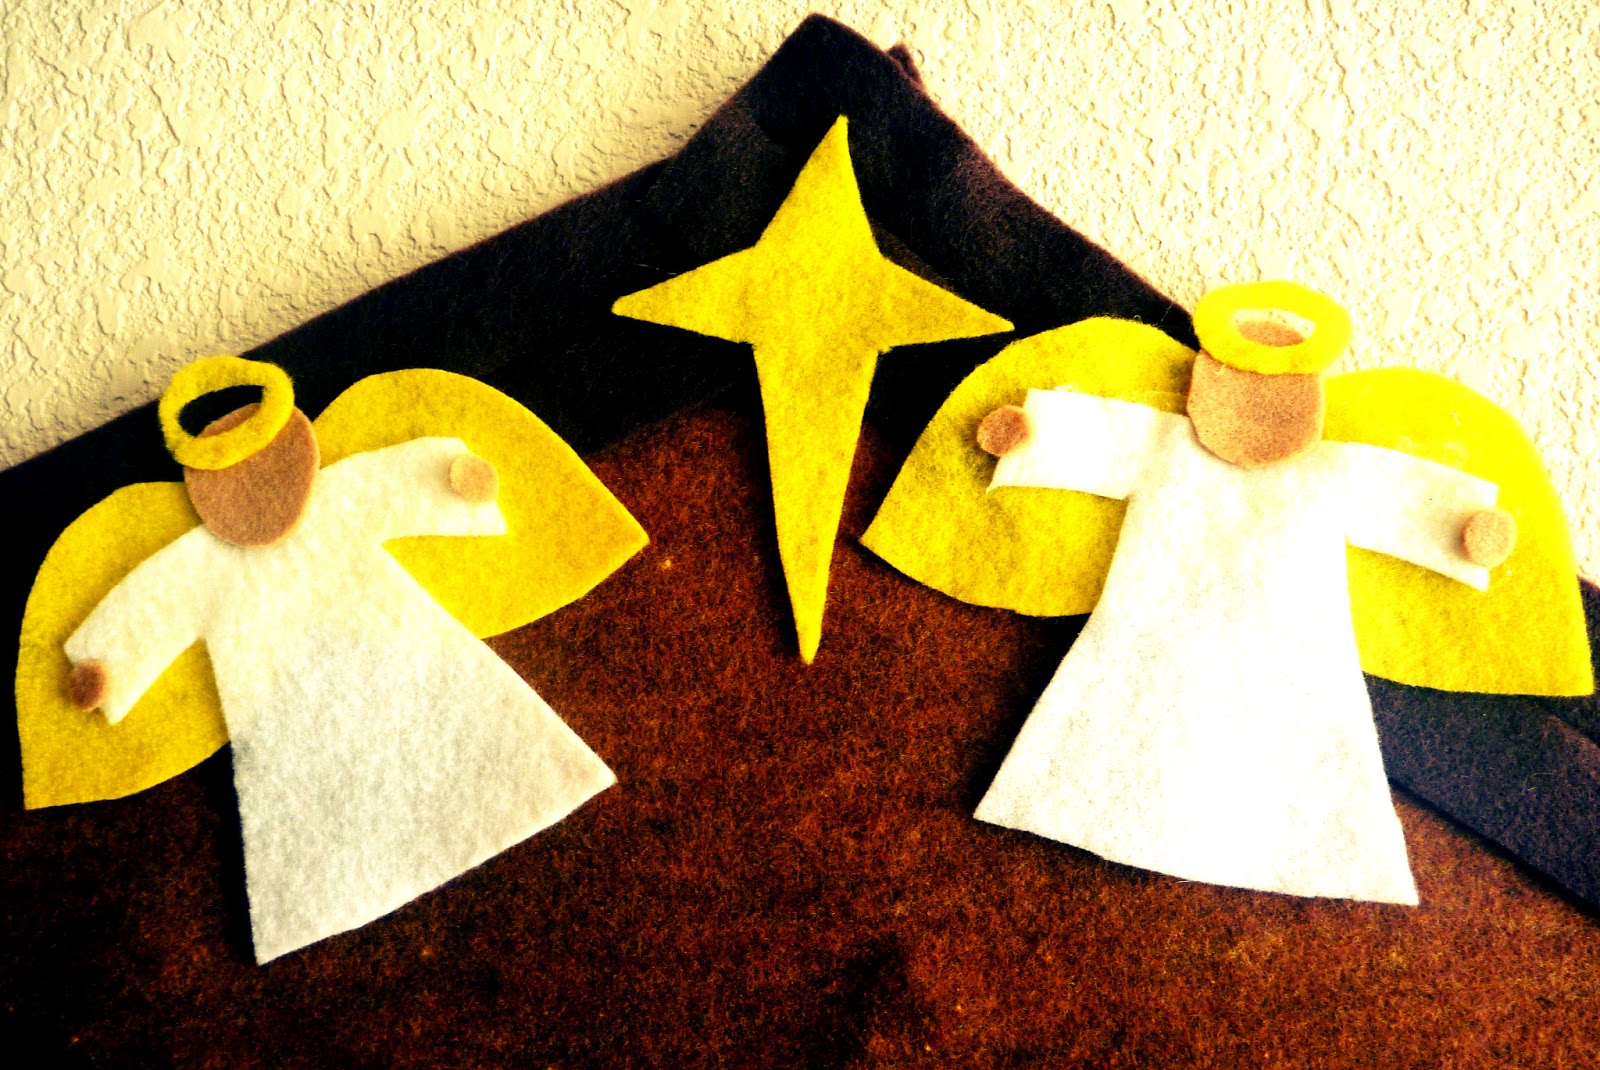
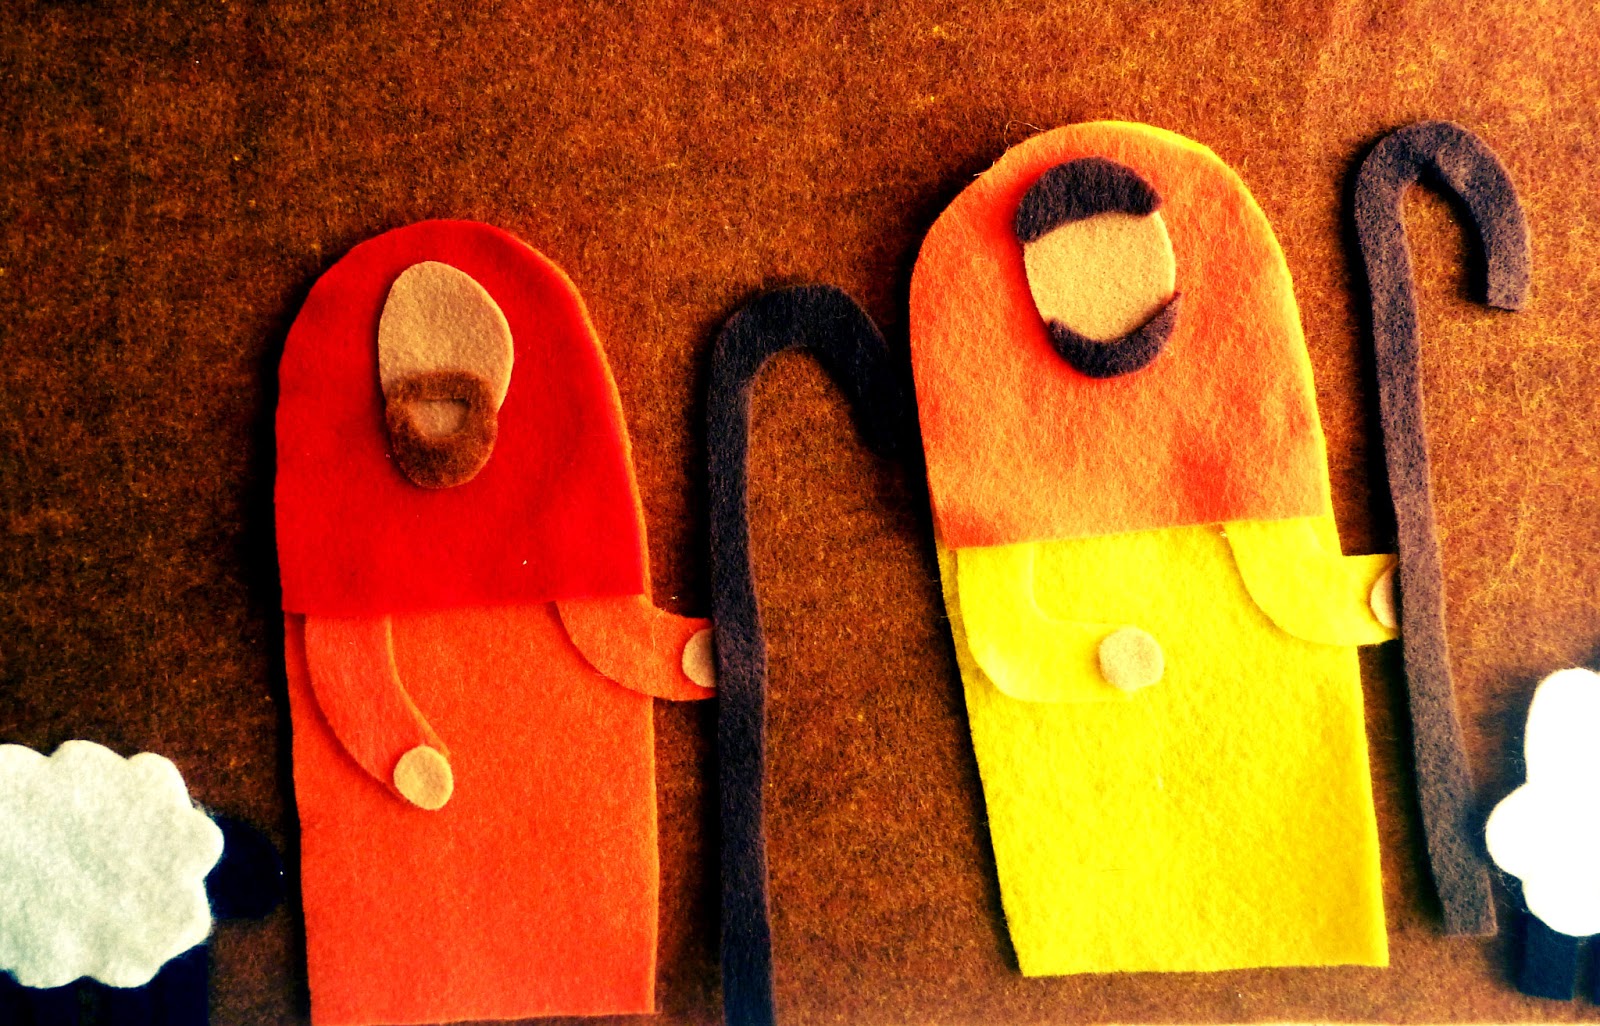
Then we saw this idea on Pinterest: a felt wall nativity scene! Of course we had to make our own to go alongside our Christmas tree. And, again, the kids had a blast playing with all the characters. Next year, they said, I need to make a camel and a donkey as well. :-)
| Three wise men, bearing gifts |
| Joseph, baby Jesus in the manger, and Mary |
| The angels |
| A couple shepherds and their sheep |
Saturday, October 20, 2012
Jack o' Lantern Busy Bag
Here's a fun idea for a Halloween-themed busy bag, taken from this blog post. Cut a pumpkin out of orange felt, glue on a green stem, and make it into an interchangeable jack o' lantern with black felt pieces. I made several pairs of eyes, a few noses, a couple mouths, some whiskers, and a scary-looking scar. The blogger I read from made a little pocket for all the black pieces to attach to the back of the pumpkin, but I'm just putting the whole thing into a Ziploc and keeping it with the rest of our busy bags.
![]() |
| Jack had fun putting a jack o' lantern face together. |
![]() |
| His finished creation |
Subscribe to:
Posts (Atom)